To those that are new to video compression and encoding, there may be a setting you might not know about, or are unfamiliar with if you have seen it. It’s …
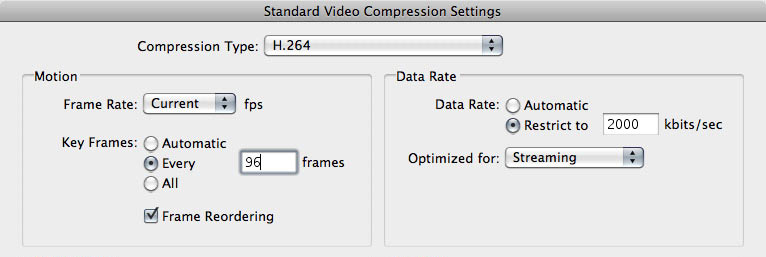
To those that are new to video compression and encoding, there may be a setting you might not know about, or are unfamiliar with if you have seen it. It’s …
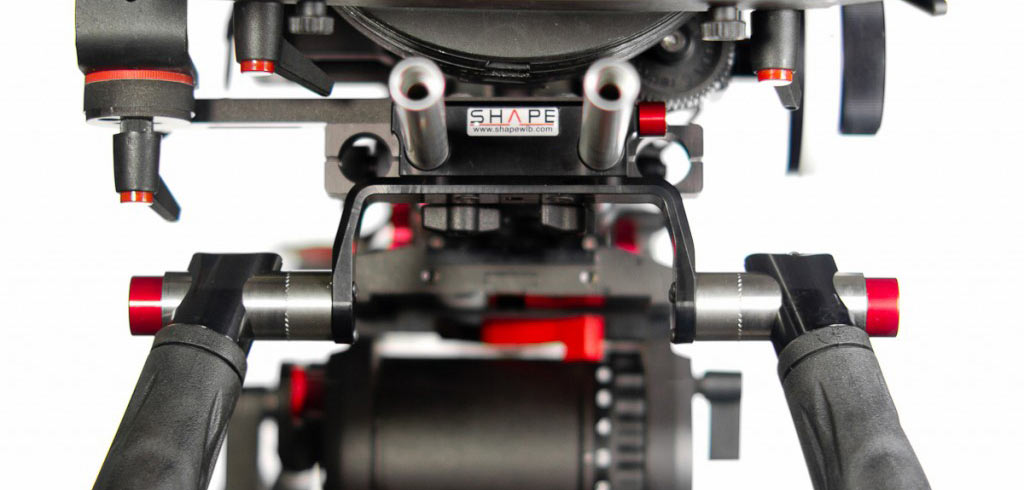
At first glance, the visual appearance of Shape’s Quick Handle is stunning with all the machined aluminum parts, and red accents. I was excited to receive it and give it …
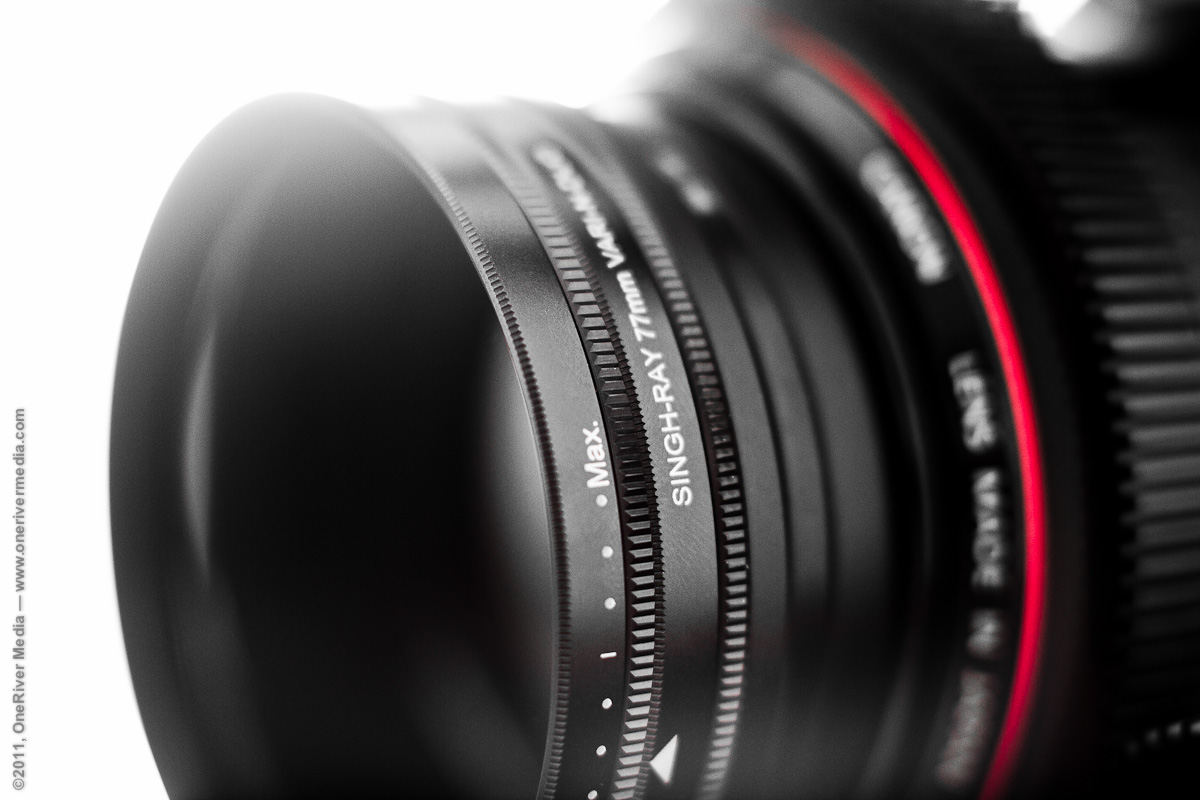
From amateurs to Hollywood cinematographers, many people have adopted the use of DSLR cameras in their HD productions. Here at OneRiver Media, we’ve been shooting with the Canon 5D Mk …

When shooting chromakey footage (green screen or blue screen), here are a few short camera exposure tips to ensure your keyed footage is the best that it can be. …
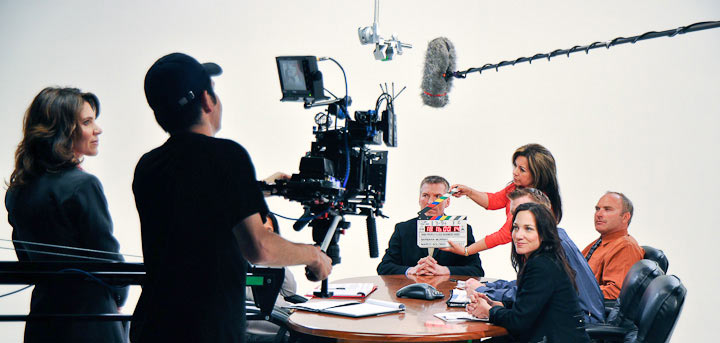
Today we worked on a long-term project with a company called Syneron and their ePrime product. Our client flew in from Boston last night and flew back out today at …
OneRiver Media was recently brought on board to help produce a video for Saba Software. Miner Productions is the main producing agency (Tracey Miner as producer), OneRiver Media was brought …

On April 29th, 2011, we ventured out to Menlo Park, California to shoot three commercials in one day. Yep, three. In one day. Craziness indeed. But to make a long …