From amateurs to Hollywood cinematographers, many people have adopted the use of DSLR cameras in their HD productions. Here at OneRiver Media, we’ve been shooting with the Canon 5D Mk II from the very beginning, around late 2008.

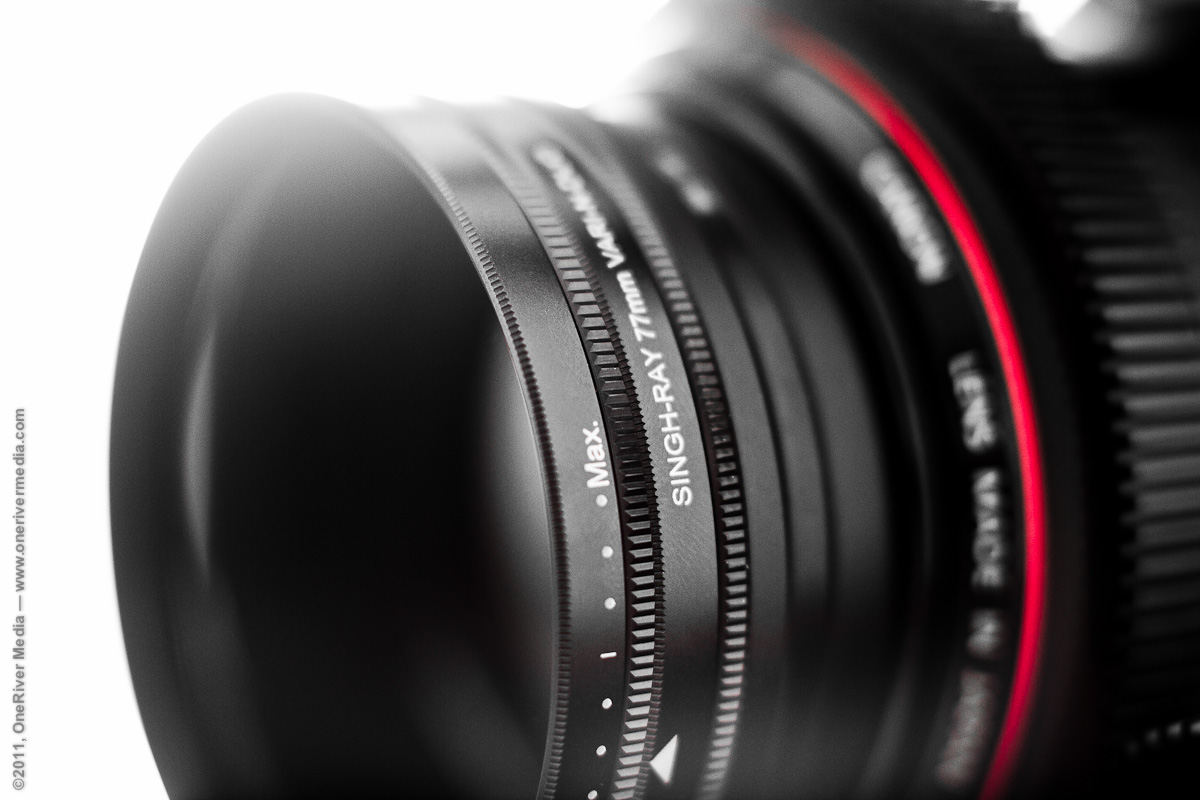
The Vari-N-Duo mounted to our Canon 85mm f/1.2L
One of the main reasons people love shooting with DSLRs, including us, is because of the huge image sensors they employ, especially so with the 5D Mk II. Those large imagers can deliver razor-thin depth-of-field (DOF). In most cases, you would use a fast prime lens, with its aperture wide open to get the narrowest DOF out of your camera. The only problem is, as soon as you open up that aperture, you expose that large sensor to more and more light. Obviously this can be a problem on a bright sunny day, or shooting on a well lit set.
Nothing really new about neutral density (ND) filters in general, but for me, having a variable ND filter with me whenever I shoot is one of my must-have tools. I personally use a Singh-Ray Vari-N-Duo filter, which is actually two tools in one; a variable ND filter and a circular polarizer. But there are many variable ND filters out there to choose from. I’ve found the Vari-N-Duo to be bullet proof, clean, and well made.
If you want to shoot wide-open on a well lit environment, to obtain that beautiful narrow DOF, you could increase the shutter speed, but if you’re trying to stick around 1/48th that 24 FPS film employs, then upping the shutter speed wont really do the trick (unless you want your entire film to look like Saving Private Ryan).
Bringing down the ISO won’t really do the trick either, at least in sunny conditions.

Marco Solorio adjusting the Vari-N-Duo on set after a lens swap
So to combat all of this, ND filters are used. But rather than carrying around a bulk of fixed ND filters, using a variable ND filter allows you to dial in just the right amount of ND filtration you need. My Vari-N-Duo stops down from about 2-2/3 stops to 8 full stops.
Here are a few tips if you’re going for that filmic look in a well-lit environment. First, put the variable ND filter on your lens. Next, set your ISO to a low (less noisy) value, preferably in 1/3rd values if you’re using a Canon DSLR. Then set your shutter speed around the 1/48th rate. Finally, set your F-stop as fast (lower number) as you can handle. Remember, narrower DOF means you need to be incredibly accurate with your focus pulls!
If the look you’re going for requires your lens to be wide open, you’ll need to adjust your variable ND filter accordingly to get proper exposure. The nice thing is, you just twist the ND ring until you get the exact exposure you need. It’s kind of like working the F-stop on a clickless aperture ring that most video lenses employ, except instead of losing DOF in the process, you maintain the same exact DOF throughout the range of the variable ND filter.
Oh and what about the circular polarizer? The reason I like having both filters in one is that I also love using circular polarizers, even in the studio. It can literally change the specularity (glossy reflection value) of a leather chair, or can change the way the light reacts to a desk’s surface. Outdoors, it can make the sky a richer, deeper blue. Likewise, it can make street surfaces darker and richer as well. And of course, the main reason for polarizers is for removing overly excessive reflections in glass, especially useful for shooting automobiles.
Last tip, whichever filter you end up getting, buy it in its largest available thread size, usually 77mm or 82mm. It may cost you a little more, but this will ensure it will always fit your largest lens, including future lenses you might purchase down the road. For your smaller lenses, get yourself some cheap step-up rings from eBay. Going from 52mm to 77mm is easy. If you end up buying a 77mm-sized lens later on and you have a 72mm filter, you wont be able to use it.
So there are a few tips for you this Tuesday. Get yourself a variable ND filter, preferably one with a circular polarizer. Chances are, you’ll wonder how you’ve shot without one all this time.

77mm Vari-N-Duo to Fotodiox 72mm to 77mm step-up ring to B+W UV filter to 85mm f/1.2L lens.
Share this post
About the Author
Article © OneRiver Media, including applicable photographs. All rights reserved. Article and its contents shall not be copied or reprinted without the expressed written approval of OneRiver Media.
FCC Disclaimer - Links from this article might go to affiliate links to B&H and/or Amazon (not much different than the ads you see in YouTube ads, but more focused). Visiting these links (or buying products from the links) cost you nothing additional and may in turn help us pay for the cost of hosting these free articles we write. These articles take an enormous amount of time (in most cases, weeks and months) to research, draft, write, edit, rewrite, and shoot custom photography/video for. In no way do these affiliate links cover the cost of all of that, so any help these links can provide is a huge help to us to continue to offer free content to our readers.